
Last updated October 30, 2026
 Architectural shingles
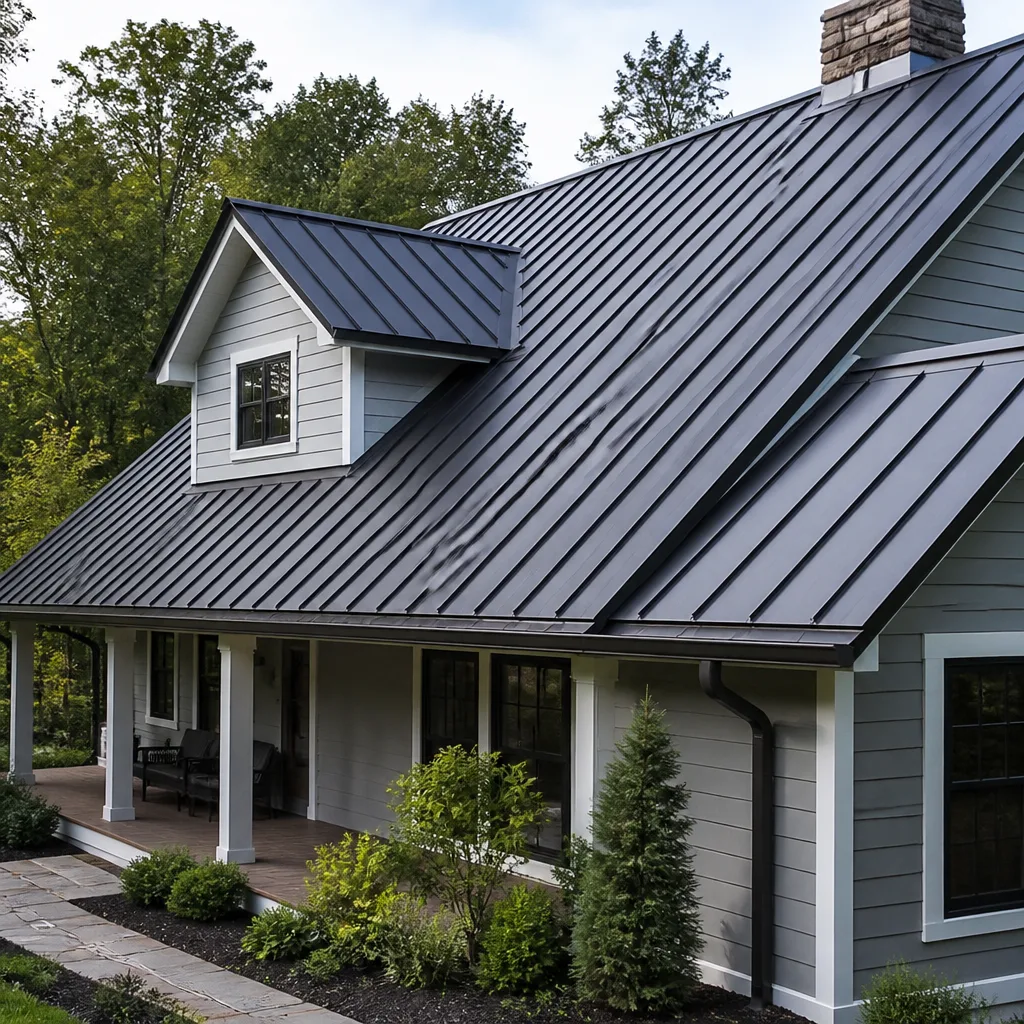 Metal roofing
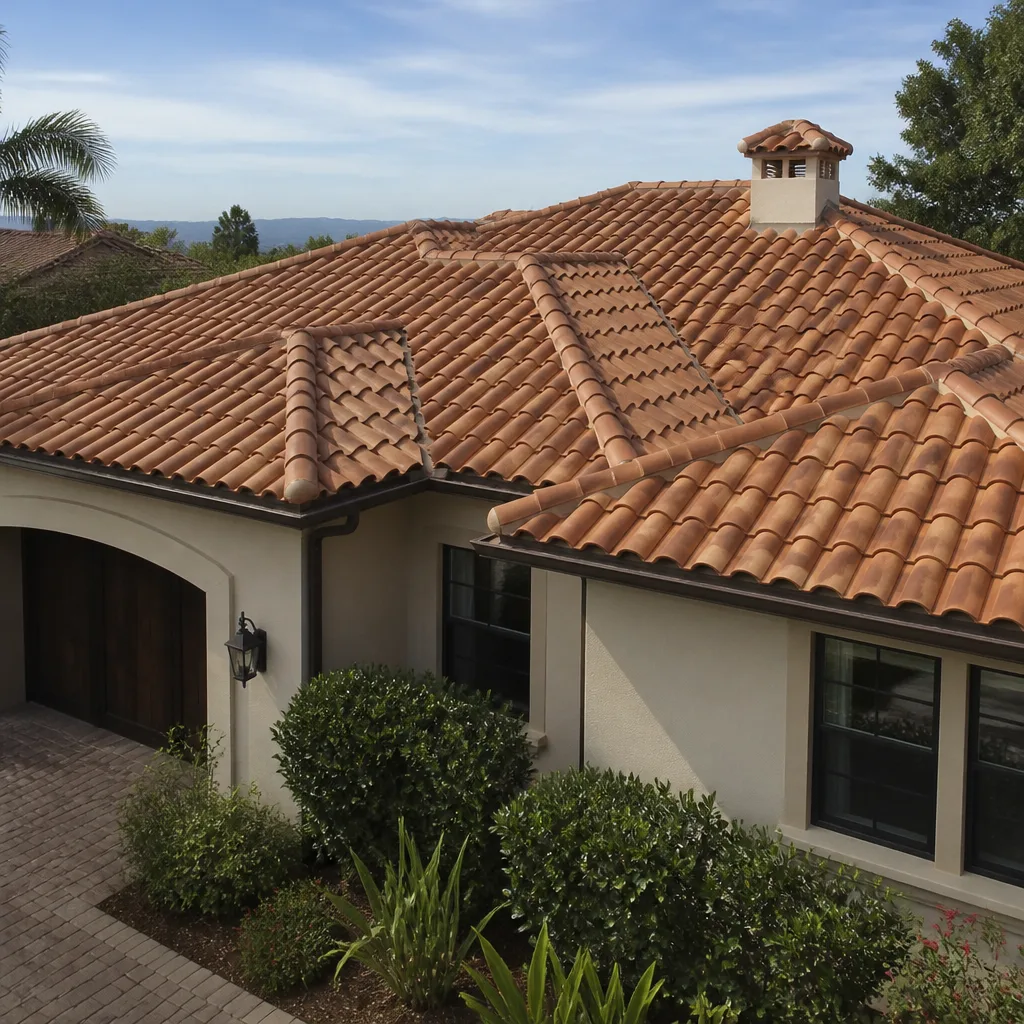 Tile roofing
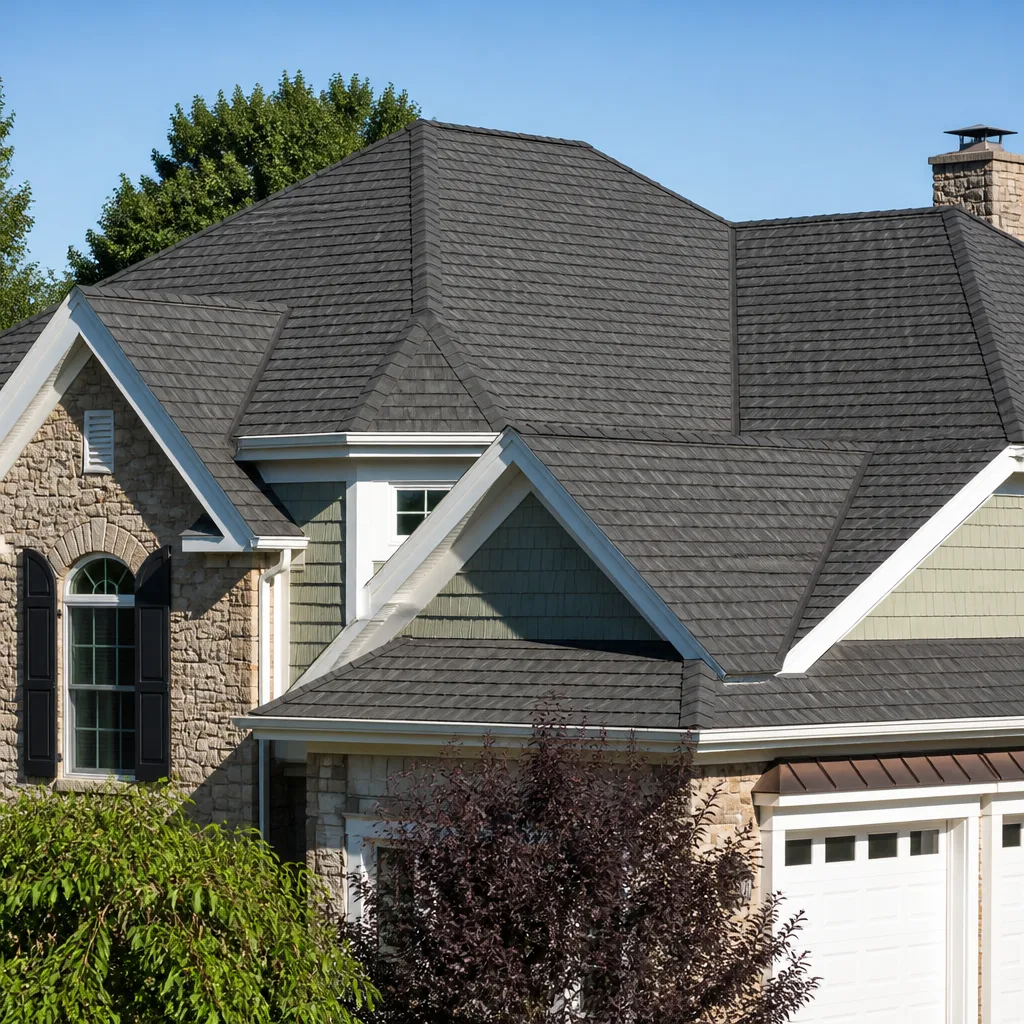 GAF
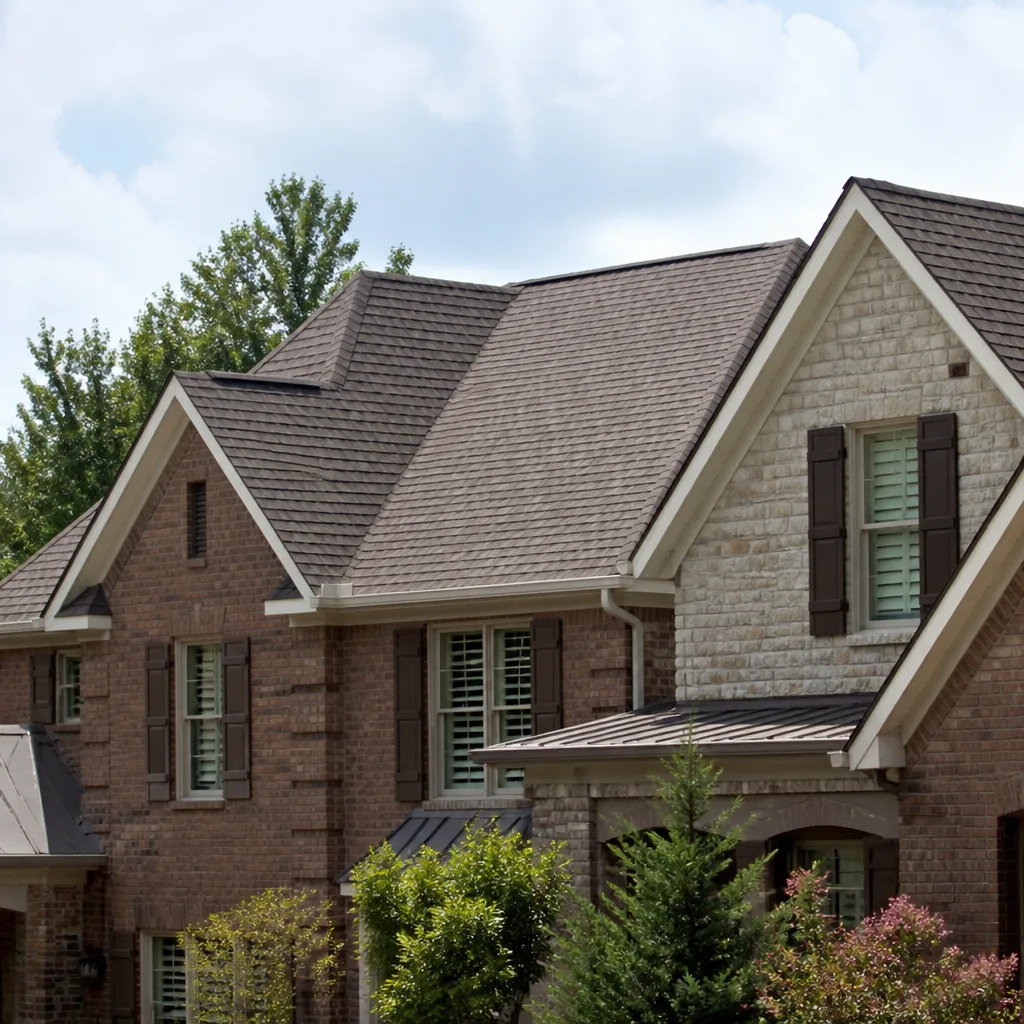 Owens Corning
 Flat & low-slope
Free roof inspection with deck photos before we talk money - GAF and Owens Corning certified installation
Roof Repair Troubleshooting: Common Problems and How to Fix Them
Granule loss in the gutters isn’t always a sign your roof is failing. On a newly installed asphalt shingle roof, early granule shedding is normal, it’s the excess material left over from manufacturing finally working loose. On a 20-year-old roof, the same granules washing down the downspout during an Ontario spring rain can mean the UV-stable layer protecting the asphalt has worn away. Treating both situations the same way is one of the most common money-wasting mistakes in roofing. This guide gives you a branching diagnostic framework, not a flat symptom list, and points you to more guides & resources for ongoing maintenance. You’ll learn how to work backward from where water appears inside your home to isolate the actual source on the roof, how to tell storm damage from an installation defect, and which problems genuinely require immediate attention versus which ones are safe to monitor.
Quick Answer
Roof Repair services start with identifying where water enters your home, not what the obvious external damage looks like. The most common roofing problems that require repair include cracked or lifted flashing, damaged pipe boots, missing or broken shingles, clogged valleys, and ventilation-related issues that cause premature shingle failure. Most repairs fall into one of two categories: immediate intervention (active leaks, missing shingles after a storm, lifted flashing near penetrations) or scheduled monitoring (minor granule loss on newer roofs, small amounts of surface moss on northern slopes). Matching the repair approach to the root cause, rather than the symptom, is what prevents a $400 fix from turning into a second $1,200 repair two seasons later.
Styles & brands we work with
Table of Contents
- Where Is the Water Coming From? Start Inside and Work Backward
- Storm Damage vs. Installation Defect: How to Tell the Difference
- The Three Most Misdiagnosed Roof Problems
- Which Problems to Monitor vs. Which to Fix Now: Specific Thresholds
- Flashing Failures: The Most Common Leak Source Most Homeowners Miss
- Attic Ventilation Problems That Show Up as Roof Damage
- How Manufacturer Warranties Affect Your Repair Choices
- Common Mistakes to Avoid
- When to Call a Professional
- Frequently Asked Questions
Where Is the Water Coming From? Start Inside and Work Backward
Most homeowners start troubleshooting on the roof. That’s the wrong direction. Water travels along roof decking, rafters, and underlayment, so the point where water exits inside your home is rarely the point where it enters the roofing system. A water stain on a bedroom ceiling on the south side of the house could originate from a plumbing boot on the ridge, 15 feet away. In Ontario, where wind-driven rain comes from specific prevailing directions during winter storms, water entry points can be especially misleading.
Start with a branching decision: where does the water appear inside?
Step-by-Step: Isolate the Water Source
- Mark the interior stain location. Use painter’s tape on the ceiling or wall directly below the stain. Measure from two fixed reference points, such as the nearest exterior wall and the nearest window, so you can translate the interior point to the roof surface above.
- Check whether the stain appears only during rainfall or persists afterward. Stains that appear hours or days after rain often indicate water pooling behind a clog or ice dam, not a direct opening. Stains that appear during the rain and dry quickly suggest a direct penetration.
- If the stain is near a wall-ceiling joint, check attic ventilation before assuming a roof leak. In Ontario’s summer heat, condensation from inadequate attic ventilation can drip onto the top plate and run down the wall, mimicking a roof leak. This is especially common in homes built before 2000 that have not had their soffit and ridge venting updated.
- From the attic, start at the interior stain location and trace upward and outward. Water travels on the underside of the decking. Look for a dark line or water trail leading from the point above the stain back toward the source. The highest point of any trail is your starting point for roof surface inspection.
- On the roof surface, examine the zone above the highest water trail marker. Check penetrations first: plumbing boots, vents, chimney flashing, skylight curbs, and any fasteners penetrating the decking. These are where most leaks originate, not open field areas of shingles.
This method works because it follows the physics of water flow instead of guessing from the outside in. When we inspect roofs for homeowners dealing with recurring leaks, the first thing we do is map the interior symptoms before touching a ladder. It saves time and prevents repairing the wrong area.
Storm Damage vs. Installation Defect: How to Tell the Difference
After a storm, you may find shingles in the yard and assume wind damage. Or you may spot a cracked shingle and assume the storm caused it. Both assumptions are frequently wrong, and the distinction matters because insurance claims, repair scope, and warranty coverage all depend on the actual cause.
Storm damage and installation defects leave different signatures. Here is what separates them:
Storm Damage Signature
- Impact pattern follows a consistent direction. Hail damage creates a spray of circular impact marks across a slope, all oriented in the same general angle. Wind damage lifts shingles along a specific directional line, usually on the leeward edge of the roof. In Ontario, where Santa Ana winds can gust through the Inland Empire in fall and winter, wind-lifted shingles typically appear on the same slope orientation.
- Damage clusters in exposed zones. You’ll see heavier damage near the ridge, at roof edges, and on the slope facing the prevailing wind. Protected areas like under overhangs remain relatively intact.
- Multiple homes in the area show similar damage. After a significant storm, your neighbors will often have similar shingle loss or impact marks. This pattern evidence is important for insurance documentation.
Installation or Material Defect Signature
- Random distribution with no directional consistency. Cracked shingles scattered across multiple slopes without a pattern suggest material defects or a batch issue, not storm impact.
- Damage concentrated near penetrations and seams. Failed seal strips at shingle butt joints, lifted shingles around plumbing vents, and cracking at skylight curbs point to fastening errors or omitted flashing during installation.
- Damage reappears in the same area after repairs. If a wood shake or shingle blew off last year, was replaced, and blows off again this year, the problem is likely the underlayment or decking beneath it, not the new component.
Knowing the difference changes what you do next. Storm damage often justifies an insurance claim and a targeted repair using materials matched to your existing roof. Installation defects may point to deeper issues that require correcting the underlying problem, not just replacing the visible damaged area. A standalone roof inspection documents the pattern before any repair conversation begins, which matters when you’re deciding between a patch job and a more complete fix.
The Three Most Misdiagnosed Roof Problems
Some roofing problems are notorious for being misread, and the wrong diagnosis leads to the wrong fix. These are the three we see misdiagnosed most often across Ontario homes.
1. Blistering Attributed to Poor Shingle Quality But Actually Caused by Attic Heat
Blistering looks like small raised bumps on the shingle surface, like pimples in the granule layer. Many homeowners and even some contractors assume this is a manufacturing defect in the shingle itself. The stronger possibility is an attic that’s overheating. When attic temperatures climb too high, typically from inadequate ventilation in Ontario’s inland heat, the asphalt in the shingles literally boils from excessive heat absorbed through the decking. The moisture and volatile compounds in the asphalt expand and create surface blisters.
You can’t fix blistering by replacing shingles, because new shingles installed over an overheated attic will blister again within two or three summers. The fix is ventilation: correcting soffit intake, adding ridge or gable exhaust, and measuring the net free vent area against the attic floor area. A properly ventilated attic keeps the underside of the decking closer to ambient temperature, which protects the entire shingle field.
2. Sagging Attributed to Structural Failure But Actually Caused by Wet Decking
A visible sag between rafters often triggers fears of structural failure. In many cases, the framing is fine; the plywood or OSB decking has absorbed enough water over time to soften and deflect. You’ll see this as a soft, spongy area when walked on, or a visible shadow line in the roof plane under the right lighting.
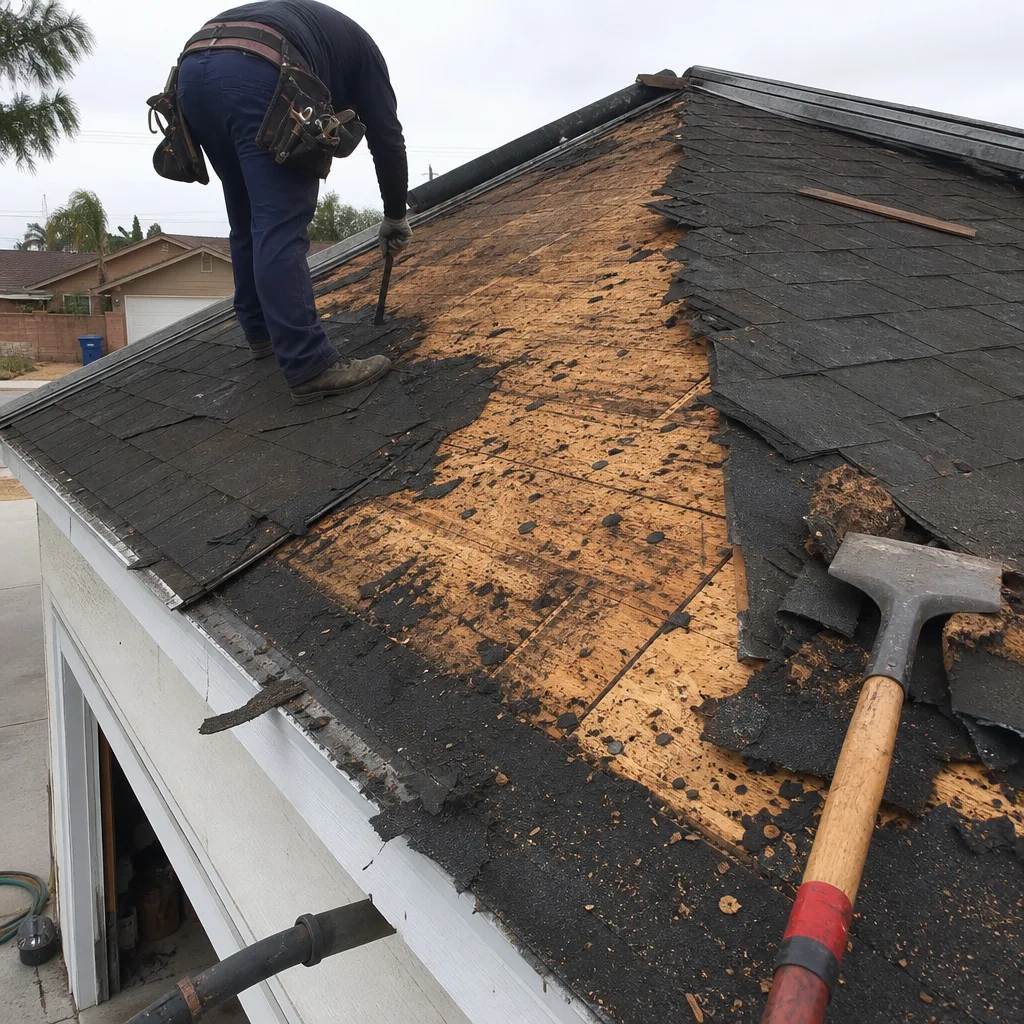
The fix is not jacking anything. It’s removing the shingles and underlayment in the affected zone, replacing wet or rotted decking sections, and reinstalling the roofing over sound substrate. Here in Ontario, where winter rain storms can work water under failed underlayment for months before the leak is noticed, decking replacement is a standard part of many repair jobs. For a detailed look at typical expenses, see our Roofing Cost Breakdown: The Ontario Homeowner’s Reference for 2026. If the sag is severe, it’s worth having a structural check done, but more often than not, the problem is moisture, not framing.
3. Moss and Algae Misread as Cosmetic When It Signals Chronic Moisture Retention
Moss growth on a northern slope is often brushed off as an aesthetic issue, particularly in shaded neighborhoods around Ontario where large mature trees overhang rooflines. But moss isn’t just unsightly. Moss retains moisture against the shingle surface for extended periods after rain, and that sustained dampness degrades the asphalt and the protective granule layer. In severe cases, moss roots can lift shingle edges and compromise the seal strip.
The real issue isn’t the moss itself. It’s that moisture is lingering long enough to support organic growth. That means the roof area isn’t drying properly between rain events. The fix includes moss removal and then addressing the drying problem: trimming overhanging branches to increase sun exposure, improving air circulation, and in some cases installing a zinc or copper strip near the ridge that naturally inhibits regrowth. Ignoring moss until it’s thick enough to lift shingles converts a $400 cleaning and mitigation issue into a $3,000-plus repair.
Which Problems to Monitor vs. Which to Fix Now: Specific Thresholds
Not every roofing abnormality requires immediate money. Some conditions are safe to watch as part of regular maintenance, while others need intervention within weeks. The key is knowing the measurable threshold that separates the two.
Safe to Monitor (with a plan)
- Granule loss on a roof under 8 years old. New shingles shed excess granules early in life. If your gutters look like they’re collecting dark sand in year two or three, and there are no bare asphalt spots visible from a ladder, this is normal. Check again at the next seasonal transition.
- Light surface moss on one shaded slope, less than 10% coverage. If the moss is thin, not lifting shingle edges, you can address it during your next scheduled maintenance. Remove it with a low-pressure soft wash and trim overhanging branches when possible.
- Minor nail pops that are not in a water channel. A raised nail head in open field areas that hasn’t broken the shingle surface doesn’t necessarily require immediate repair. Monitor it; if the shingle above it cracks or the nail head is exposed and catching water, fix it then.
- Hairline cracks in surface sealant around flashing that are not admitting water. As long as the interior remains dry and the metal flashing itself is intact, you can monitor and plan a resealing during your next maintenance window.
Requires Immediate Attention
- Any active interior leak. Water entering the home is an active failure. The longer it continues, the more damage occurs to decking, insulation, and drywall. This is not a monitoring situation.
- Missing shingles after a storm. Exposed underlayment and decking are vulnerable to the next rain event. In Ontario, a few dry weeks in late summer are often followed by sudden rain. Missing shingles should be addressed within days, not months.
- Lifted flashing at any penetration. Flashing that has separated from the roof surface creates a direct channel for water. This worsens with every rain event as water gets behind the flashing and accelerates the separation. Repair the flashing or replace the boot immediately.
- Cracked shingles in a valley or water channel. Water concentrates in valleys and along roof-wall intersections. A cracked shingle in these high-flow zones channels water directly into the underlayment. Repair immediately.
- Any sign of active mold or rot in the attic. Musty smell, dark staining on decking, or visible mold on rafters means moisture has been entering for some time. This needs diagnosis and repair before the damage spreads.
The threshold rule is simple: if water is currently entering your home or has a clear path to enter during the next rain, fix it now. If the condition is stable and not yet affecting the roof’s water-shedding function, schedule it for the next planned maintenance cycle.
Flashing Failures: The Most Common Leak Source Most Homeowners Miss
If there’s one component that causes more leaks than any other on residential roofs, it’s flashing. Flashing is the metal or synthetic material that seals the transitions: where the roof meets a chimney, where a plumbing stack penetrates the decking, where walls intersect the roofline, and at valleys and ridges. Flashing failures are especially common in Ontario because older homes often have galvanized steel flashing that has been exposed to decades of temperature swings and occasional heavy rain.
The Usual Suspects
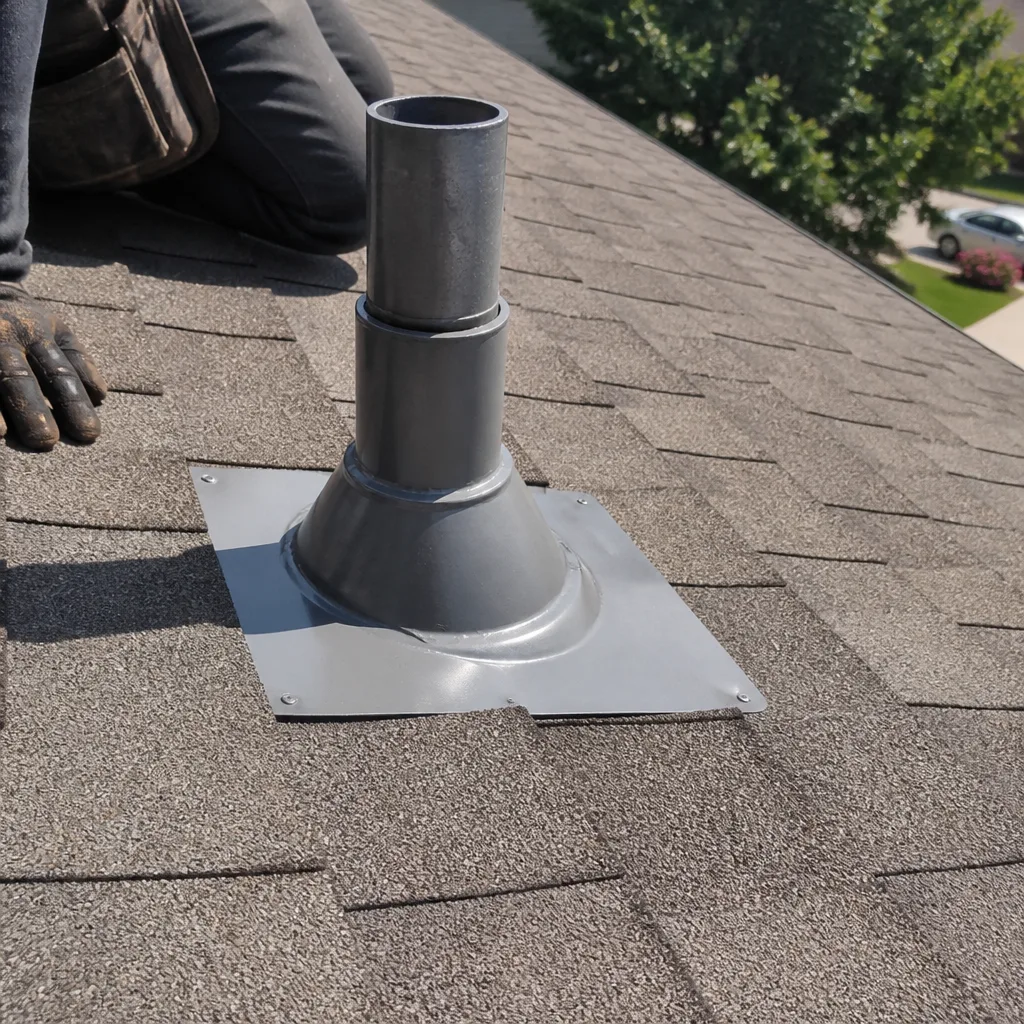
- Plumbing boots (pipe collars). The rubber gasket that seals around the PVC vent pipe degrades over time under UV exposure and heat. Once the rubber cracks or the gasket separates from the metal base, water runs straight down the pipe into the attic. This is one of the easiest repairs when caught early: a new boot slips over the pipe and offsets under the adjacent shingle course.
- Chimney flashing. The intersection between a masonry chimney and the roof plane requires two pieces of flashing working together: step flashing (the L-shaped pieces woven into each shingle course) and counterflashing (the metal embedded into the chimney mortar to cover the top edge). If either fails, water works its way behind the flashing and down the chimney chase. The repair involves resetting or replacing the flashing and resealing the counterflashing into the mortar joints.
- Valley flashing. Valleys channel a large volume of water and debris. If metal valley flashing is rusted through or the shingles in a woven valley are broken, water hits the underlayment repeatedly in the same concentrated spot. Valley repairs require careful material matching so the repaired area sheds water as effectively as the original design.
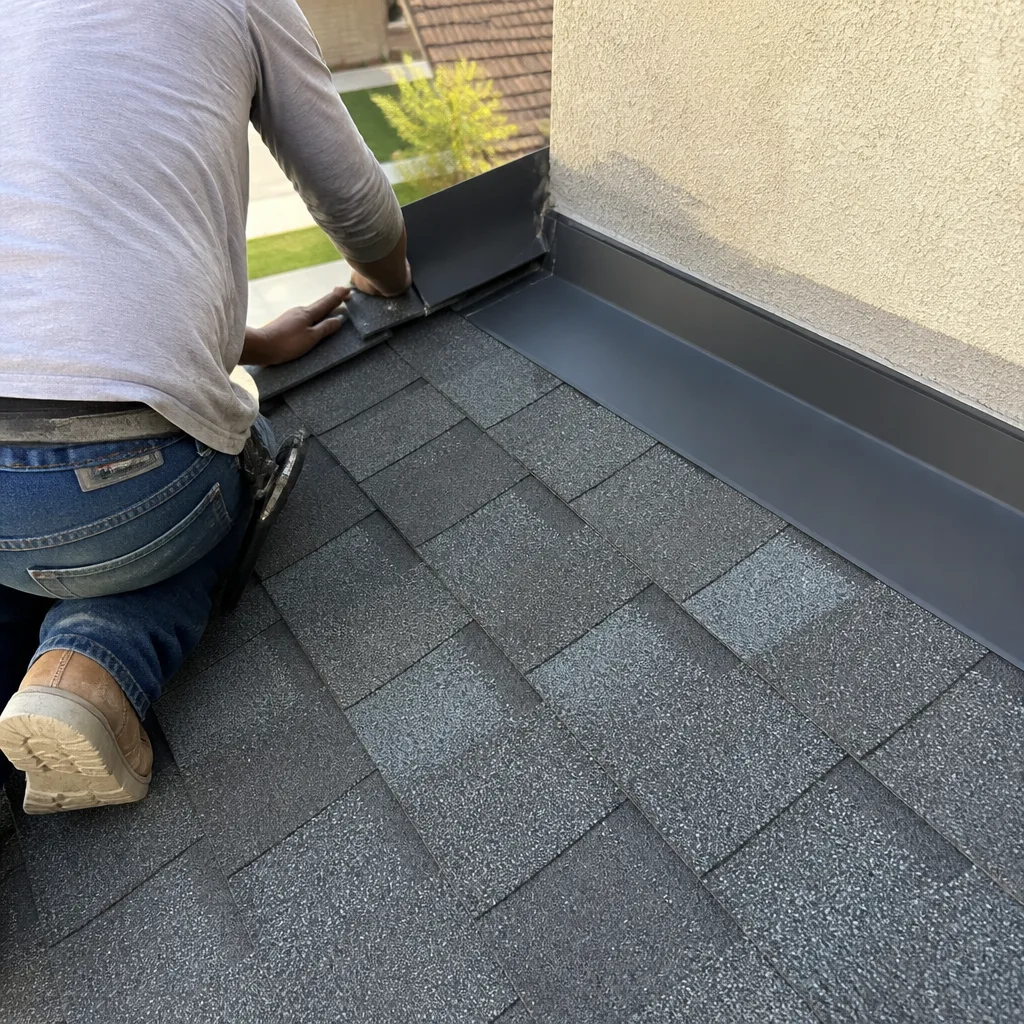
- Roof-wall intersections (headwall and sidewall flashing). Where a sloped roof meets a vertical wall, the flashing must turn up the wall surface and be covered by the wall cladding. Failure here shows up as water staining on interior walls below the intersection. The fix is often to pull back cladding, replace the flashing, and properly integrate it with the wall’s moisture barrier.
Flashing failures share a common thread: they’re all detail areas where installation quality matters more than material cost. A $25 plumbing boot, correctly installed, prevents thousands of dollars in decking and drywall repair. When we perform repairs for Ontario homeowners, flashing is the first thing we check after a leak is reported, because it’s the root cause in the majority of cases.
Attic Ventilation Problems That Show Up as Roof Damage
Some of the most persistent roof problems don’t start on the roof surface. They start in the attic. Poor attic ventilation causes two distinct types of damage, and both are common in Ontario’s inland climate.
In summer, an unventilated or under-ventilated attic can reach 150°F or higher. That heat radiates through the decking and literally cooks the shingles from beneath. The asphalt ages prematurely, the shingles become brittle, and the granule layer loses its protective function years before it should. The result is a roof that looks 25 years old at age 12. The fix for premature aging isn’t better shingles; it’s correcting the ventilation to keep attic temperatures within a reasonable range of the outside air.
In winter, the opposite problem occurs. Warm air from the living space leaks into the attic through gaps in the ceiling plane, carrying moisture. That warm, moist air hits the cold underside of the decking and condenses. The condensation drips onto the insulation and causes the same sort of interior staining homeowners usually blame on roof leaks. Over time, continued condensation contributes to mold growth and decking rot.
The solution starts with measuring attic ventilation. The standard recommendation is 1 square foot of net free vent area for every 150 square feet of attic floor space, split roughly evenly between intake (soffit vents) and exhaust (ridge, gable, or roof-mounted vents). In Ontario’s climate, many homes benefit from exceeding that minimum, especially those with steep roof pitches and limited soffit overhang.
If you’re seeing premature shingle aging, peeling attic-facing paint, rust on exposed nail points in the attic, or recurring condensation on the underside of the decking, the problem may not be the roof covering at all. It’s the airflow. Correcting ventilation before replacing shingles extends the life of the new roof, which is why any complete roof replacement in Ontario should evaluate and correct ventilation as part of the project.
How Manufacturer Warranties Affect Your Repair Choices
If your roof is under a manufacturer’s material warranty, the repair choices you make now can affect whether that warranty remains valid later. This is one of the more overlooked aspects of roof repair, and it matters most when the roof is relatively young.
Shingle manufacturers like GAF, CertainTeed, Tamko, and Boral structure their warranties around specific installation requirements and material compatibility. If you have a GAF shingle roof and a repair contractor installs a different brand’s shingles on a damaged section, the visual mismatch is only the beginning. The manufacturer’s warranty on the remaining original shingles may be voided because the roofing system is no longer the same tested, integrated system the factory warrantied. This applies especially to systems with enhanced warranty coverage that includes the underlying components, not just the top shingle layer.
What does this mean in practice? If you know your roof’s material brand, communicate it before any repair begins. A roofer who works across multiple brands, rather than being locked into one manufacturer, can source the same or a compatible material for the repair. This is one of the reasons we maintain access to seven shingle and roofing material brands: GAF, CertainTeed, Owens Corning, IKO, Atlas, Tamko, and Boral. The choice of repair material is made to protect your existing warranty and match your roof’s appearance, not based on what we happen to have in stock.
If you don’t know your roof’s brand but the roof is under 10 years old, check any leftover material from the original installation. Builders often leave a partial bundle in the garage or attic. The wrapper identifies the product line, color, and lot. Matching the product line and color is important for appearance; matching the brand is what protects warranty integrity.
The bottom line on warranties: an informed repair decision considers the full roofing system, not just the visible patch. If a repair contractor reaches for whatever shingle is on the truck without asking about your existing material brand, that’s a red flag.
Common Mistakes to Avoid
- Repairing the interior stain before finding the roof leak. Patching and repainting the ceiling before the roof source is addressed means the stain returns with the next rain, and you’ve spent money twice. Fix the roof, then fix the drywall.
- Caulking over flashing instead of replacing it. Roofing cement and caulk applied over failed flashing is a temporary bandage, not a repair. The product degrades with sun exposure and temperature swings, and the leak returns. Replace the flashing or the boot.
- Using off-brand materials on a roof under manufacturer warranty. As discussed, mixing brands can void warranty coverage on the rest of the system. Match the material to the existing roof whenever your roof is still within its warranty period.
- Ignoring granule loss on an older roof because there’s no leak yet. Bare asphalt spots on a 15-plus-year-old roof mean the protective layer is gone. The shingles are now vulnerable to UV degradation and impact. Start planning for replacement or a full assessment rather than waiting for water to enter the home.
- Spot-patching reactively without addressing the underlying cause. If the same area keeps failing, there’s a reason. Wet decking, missing underlayment, or poor flashing design will cause repeated failures. A proper repair in Ontario addresses the root cause, not just the visible symptom.
- Assuming a new home’s roof is fine because it passed inspection at purchase. Home inspectors check for visible evidence of active problems, not latent defects. Roofs that pass inspection can still develop issues within one to two seasons, especially if the original installation was below the standard Hawk Roof Repair recommends.
When to Call a Professional
Some repairs are genuinely DIY-appropriate for a confident homeowner: replacing a single missing shingle on a low-slope, walkable roof, clearing debris from valleys while standing on a ladder, or visually inspecting flashing from the ground with binoculars. Others deserve a professional’s eyes and hands. Call a roofing professional when you see active water entry, when flashing at penetrations is lifting or separated, when you suspect decking damage beneath soft spots in the roof plane, or when the issue is on a steep or multi-story roof where ladder work becomes hazardous. Call before applying any patch material over an area you haven’t fully diagnosed, because sealing over a ventilation-induced condensation issue only traps the moisture. Hawk Roof Repair offers free estimates in Ontario. Call (877) 731-1384 to schedule yours.
Frequently Asked Questions
Roof repair costs in Ontario typically range from $350 to $1,800 depending on the scope, but the real variable is what’s causing the problem, not the size of the patch. Replacing a plumbing boot is a sub-$500 repair. Replacing a section of valley flashing with decking repair can run $1,200 to $2,500. The only way to get an accurate number is an inspection-first diagnosis that identifies the root cause and the materials needed. Call (877) 731-1384 and we’ll assess the specific issue and give you a written scope before any work is priced.
You can sometimes identify the source of a roof leak from inside the attic, but the actual repair almost always needs to be done from the roof surface. The attic view lets you trace water trails back to the penetration, but sealing a leak from underneath is unreliable because water pressure and gravity will find another path. The attic is for diagnosis; the roof is for the fix.
The honest answer is that every rain event between losing the shingles and repairing them is an opportunity for water to reach the decking. Exposed underlayment has some water resistance, but it’s not designed to be the weathering surface. If you’ve lost shingles in Ontario, schedule a repair before the next significant rain system. For proactive steps, review our Roofing Emergency Preparedness Guide for Ontario Homes. The dry heat of the Inland Empire doesn’t protect you from winter’s Atmospheric River events.
Coverage depends on the cause of the damage. Sudden, accidental events like wind, hail, or a fallen branch are typically covered. Gradual deterioration from age, lack of maintenance, or poor installation is generally not. Document the damage with photos, note the date and weather event, and check your policy’s specific roof coverage language before assuming coverage.
In Ontario, minor repairs like replacing a few shingles or a plumbing boot typically don’t require a permit. Larger repairs that involve decking replacement, structural correction, or that affect a certain percentage of the roof surface may trigger permit requirements depending on city jurisdiction. We’ll always tell you if a permit is needed and handle the process as part of the project.
Mold from an active roof leak tends to be localized to the area directly beneath the water entry point, often following a visible water trail on the decking and rafters. Mold from poor ventilation is more diffuse, spreading across large sections of the sheathing where warm, moist air condenses, especially near the ridge and in corners where airflow is weakest. A diagnostic inspection can settle the question by measuring attic humidity and examining the pattern of staining. Call (877) 731-1384 for an assessment.
The Bottom Line
Roof repair troubleshooting is a diagnostic process, not a materials shopping trip. Start inside, map the water entry point, work backward through the zones to the likely source, and only then decide on the fix. Distinguish between conditions that can wait and those that can’t, using the thresholds described above. Never confuse symptom with cause, whether that means replacing blistering shingles before fixing the attic heat problem, patching a soggy decking sag without replacing the rotted wood, or scrubbing moss off without addressing the moisture retention that let it grow. And when the problem involves a roof still under manufacturer warranty, match the repair material to the existing system. The homeowner who gets this sequence right saves money regardless of what the specific repair turns out to be.
Written by the team at Hawk Roof Repair, serving Ontario since 2017.
See the difference
 Before
 After
 Before
 After
 Before
 After